티스토리 뷰
Spring Cloud Config란?
분산 시스템에서 서버, 클라이언트 구성에 필요한 설정 정보(application.yml)를 외부 시스템에서 관리하는것이다. 하나의 중앙화 된 저장소에 구성요소를 관리가 가능하다.
또한, 각 서비스를 다시 빌드하지않고, 바로 적용 가능하게된다.
애플리케이션 배포 파이프라인을 통해 D

EV-UAT-PROD 환경에 맞는 구성 정보를 사용한다.
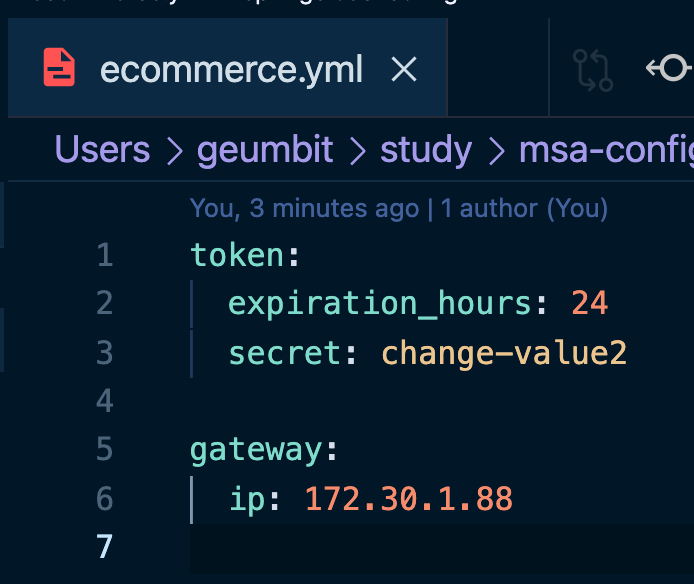
~/msa-config : ecommerce.yml 파일을 생성한다
token:
  expiration_hours: 24
  secret: ~

gateway:
  ip: ~
git add .
git commit -m "upload an application yml file"
~springcloud-config-project : 프로젝트를 생성한다.


프로젝트를 올린 후,
pom.xml
<dependency>
    <groupId>org.springframework.cloud</groupId>
    <artifactId>spring-cloud-config-server</artifactId>
</dependency>
ConfigServiceApplication.java
@SpringBootApplication
@EnableConfigServer
public class ConfigServiceApplication {

    public static void main(String[] args) {
        SpringApplication.run(ConfigServiceApplication.class, args);
    }
}
application.yml
server:
  port: 8888

spring:
  application:
    name: config-service
  cloud:
    config:
      server:
        git:
          uri: file:///Users/geumbit/study/msa-config
http://127.0.0.1:8888/ecommerce/default 에 접속한다.

자 이제부터 user-service 등 MS에서
springcloud-config 프로젝트에서 지정한 ecommerce.yml 파일을 사용하도록 만들겠습니다.
user-service - pom.xml 에 아래 내용을 추가한다
<dependency>
    <groupId>org.springframework.cloud</groupId>
    <artifactId>spring-cloud-starter-config</artifactId>
</dependency>
<dependency>
    <groupId>org.springframework.cloud</groupId>
    <artifactId>spring-cloud-starter-bootstrap</artifactId>
</dependency>
기존 user-service의 application.yml파일 일부를 주석처리한다.
#token:
#  expiration_hours: 24
#  secret: gbitkim
user-service - bootstrap.yml 파일을 생성하여 읽어올 yml 파일을 지정한다.
spring:
  cloud:
    config:
      uri: <http://127.0.0.1:8888>
      name: ecommerce # 적용할 파일명
Spring 올라온 로그를보면 다음과 같다
Fetching config from server at : <http://127.0.0.1:8888>
Located environment: name=ecommerce, profiles=[default],
				label=null, version=575f1ff88ac9490dda872e8d174085e2e4e2984d, state=null
Located property source: [BootstrapPropertySource {name='bootstrapProperties-configClient'},
				BootstrapPropertySource {name='bootstrapProperties-file:///Users/geumbit/study/msa-config/ecommerce.yml'}]
springcloud-config 서버의 8888에서 로그를 읽어들였다.
ecommerce.yml 파일을 읽어들였으며, 해당파일의 경로역시 남아있다.
Controller를 수정하여 다음을 확인한다.
@RestController
@RequestMapping("/")
@RequiredArgsConstructor
public class UserController {
    private final Greeting greeting;
    private final UserService userService;
    private final Environment env;

    @GetMapping("/health_check")
    public String status(){
        return String.format("It's Working in User Service"
                + ", port(local.server.port)=" + env.getProperty("local.server.port")
                + ", port(server.port)=" + env.getProperty("server.port")
                + ", token secret=" + env.getProperty("token.secret")
                + ", ptoken expiration time=" + env.getProperty("token.expiration_hours")
        );
    }
~springcloud-config/ecommerce.yml 파일에 아래 token.secret을 수정해보자
token:
  expiration_hours: 24
  secret: spring-cloud-change-vvalue

gateway:
  ip: 172.30.1.88
geumbit@gimgeumbich-ui-MacBookPro msa-config % git add .
geumbit@gimgeumbich-ui-MacBookPro msa-config % git commit -m ""
커밋을 중지합니다. 커밋 메시지가 비어 있습니다.
geumbit@gimgeumbich-ui-MacBookPro msa-config % git commit -m "change token value"
[master 5a757df] change token value
 1 file changed, 1 insertion(+), 1 deletion(-)
geumbit@gimgeumbich-ui-MacBookPro msa-config %
user-service를 재기동 해야 값을 가져올 수 있다

이렇게 된다면, 매번 수정시마다 프로젝트를 재부팅해야하는 번거로움이 생긴다.
하여 나온게 Actuator refresh 와 Spring cloud bus 를 사용하는 방법이다.
우리는 우선 Actuator refresh 를 먼저 사용해볼것이다.
Spring Boot Actuator란?
Application 상태, 모니터링하고 Metric 수집을 위한 Http End Point를 제공한다.
actuator를 user-service - pom.xml 에 추가한다.
<dependency>
    <groupId>org.springframework.boot</groupId>
    <artifactId>spring-boot-starter-actuator</artifactId>
</dependency>
management:
  endpoints:
    web:
      exposure:
        include: refresh, health, beans
이 후에 commerce.yml 파일 수정 후 git add 및 commit 을 한다.
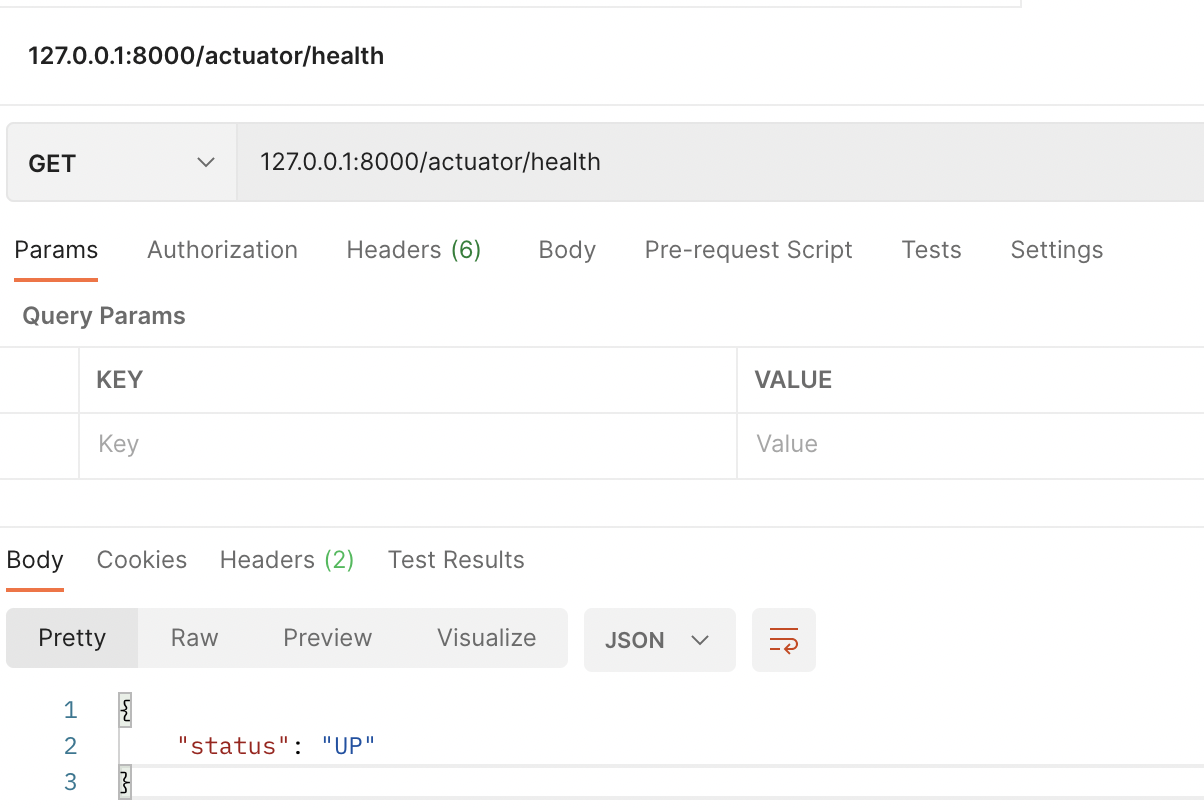
그 후에 http:127.0.0.1:userservice-port/actuator/refresh 를 POST로 돌리고 나면,
userservice프로젝트를 재시작하지 않아도
아래와 같이 바라보고 있는 ecommerce.yml 파일의 수정된 부분을 읽어들어오고 반영이된다.


Spring Cloud Gateway에도 Actuator 를 적용해보자
springcloud-gateway - pom.xml
<dependency>
    <groupId>org.springframework.cloud</groupId>
    <artifactId>spring-cloud-starter-config</artifactId>
</dependency>
<dependency>
    <groupId>org.springframework.cloud</groupId>
    <artifactId>spring-cloud-starter-bootstrap</artifactId>
</dependency>
<dependency>
    <groupId>org.springframework.boot</groupId>
    <artifactId>spring-boot-starter-actuator</artifactId>
</dependency>
springcloud-gateway - bootstrap.yml
spring:
  cloud:
    config:
      uri: <http://127.0.0.1:8888>
      name: ecommerce # 적용할 파일명
springcloud-gateway - application.yml
				- id: user-service
          uri: lb://USER-SERVICE
          predicates:
            - Path=/user-service/actuator/**
            - Method=GET, POST
          filters:
            - RemoveRequestHeader=Cookie
            - RewritePath=/user-service/(?<segment>.*), /$\\{segment}

~~ 생략 ~~
management:
  endpoints:
    web:
      exposure:
        include: refresh, health, beans, httptrace
user-service/actuator/** 로 넘어올 경우 GET, POST 모두 확인가능
springcloud-gateway - ApigatewayServiceApplication.java
@SpringBootApplication
public class ApigatewayServiceApplication {

    public static void main(String[] args) {
        SpringApplication.run(ApigatewayServiceApplication.class, args);
    }

    @Bean
    public HttpTraceRepository httpTraceRepository(){
        return new InMemoryHttpTraceRepository();
    }
}
- include에 적용된 httptrace를 사용하기 위해 HttpTraceRepository 객체를 @Bean으로 등록한다.

ecommerce.yml 파일 수정 후 api-gateway refresh 돌리기


수정된 값 확인한다.
Multiple environments 만들기
geumbit@gimgeumbich-ui-MacBookPro msa-config % ls
ecommerce-dev.yml	ecommerce-prod.yml	ecommerce.yml
위와같이 ecommerce.yml 파일을 복사해서 아래 파일들을 만든다.
- ecommerce-dev.yml
- ecommerce-uat.yml
- ecommerce-prod.yml
아래 파일에 profiles.active에 dev로 설정한다 (만약 해당 값이 없다면 spring.cloud.config.uri.name = ecommerce 로 설정하였기에 ecommerce.yml파일을 읽어온다)
apigateway - bootstrap.yml
spring:
  cloud:
    config:
      uri: <http://127.0.0.1:8888>
      name: ecommerce # 적용할 파일명
  profiles:
    active: dev
userservice bootstrap.yml파일에는 active를 prod 로 설정한다
spring:
  cloud:
    config:
      uri: <http://127.0.0.1:8888>
      name: ecommerce # 적용할 파일명
  profiles:
    active: prod


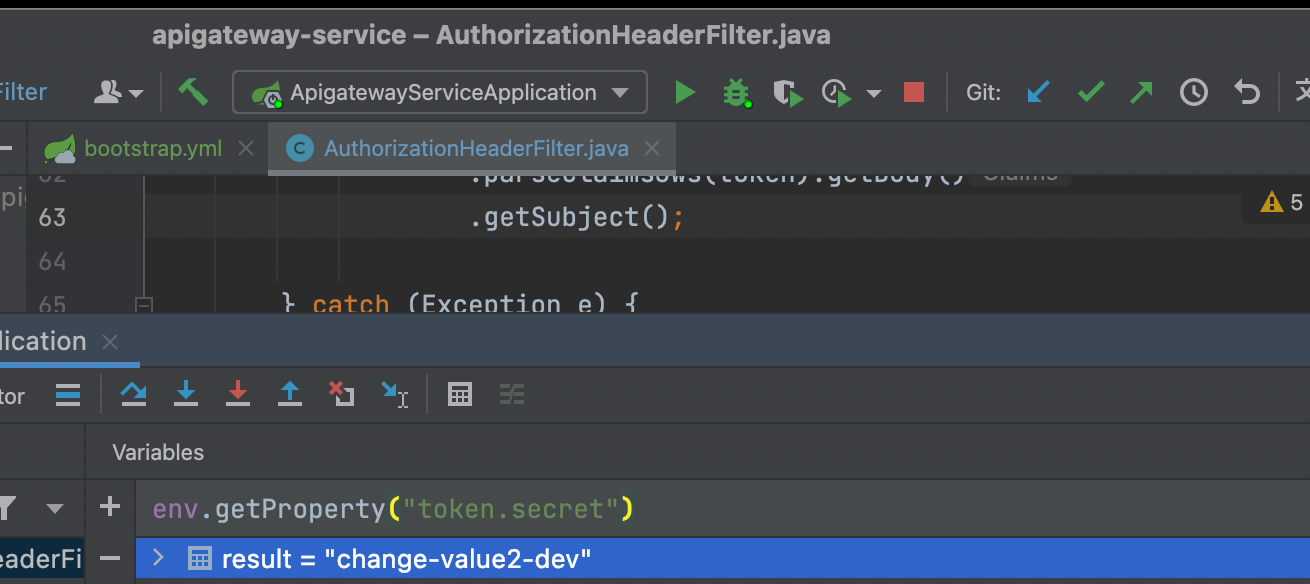
재기동 시 각각 apigateway - token.secret 값은 ecommerce-dev.yml 파일을
userservice - token.secret 값은 ecommerce-prod.yml 파일을 읽어들인것을 확인할 수 있다.
참고하자면, spring.profiles.active는 Intellij 에서 아래와 같이 설정 가능하다.

'MSA' 카테고리의 다른 글
| Section 9: 암호화 처리를 위한 Encryption과 Decryption (1) | 2023.06.07 |
|---|---|
| Section 8: Spring Cloud Bus (0) | 2023.06.07 |
| Section 6: Users Microservice-2 (1) | 2023.06.07 |
| Section 4: Users Microservice -1 (0) | 2023.06.07 |
| Section 3: E-commerce 애플리케이션 (1) | 2023.06.07 |
- Total
- Today
- Yesterday
- ApplicationContext
- docker
- 람다
- springboot
- 스트림
- NPM
- Intellij
- AnnotationConfigApplicationContext
- 자바8
- 영속성 컨텍스트
- MAC
- Vue
- java
- webpack
- mvn
- vscode
- container
- ngnix
- 차이
- 최종연산
- lambda
- JPA
- Vuex
- install
- map
- 중간연산
- stream
- elasticsearch
- BeanFactory
- nginx
| 일 | 월 | 화 | 수 | 목 | 금 | 토 |
|---|---|---|---|---|---|---|
| 1 | 2 | 3 | 4 | 5 | 6 | 7 |
| 8 | 9 | 10 | 11 | 12 | 13 | 14 |
| 15 | 16 | 17 | 18 | 19 | 20 | 21 |
| 22 | 23 | 24 | 25 | 26 | 27 | 28 |
